

You want your WordPress to HubSpot migration to be as easy as pie. But in reality, it's not always that simple, and you might overlook important factors.
Whether you're managing it yourself or using a WordPress to HubSpot website migration service, we've put together these helpful steps to de-risk your process and achieve a smooth migration.
10 steps for a successful WordPress to HubSpot migration
- Audit your current website
- Export and import redirects
- Check your attached services, software, and integrations
- Preconfigure domain settings in HubSpot
- Stage your new website in HubSpot
- Import your blog into HubSpot
- Setup forms, notifications, and automation
- Test your website
- Switch DNS records
- Test again
1. Audit your current website
The first step of the migration is to conduct an audit of your website to analyse your current performance and collate the assets that you'll be migrating. A comprehensive audit contains every page, URL, and piece of content. With this, you'll be better prepared to migrate them.
You'll likely have pages and content that have been forgotten but might play a role in attracting visitors, establishing backlinks, or internal linking. These should be picked up in the audit and considered when migrating.
Organisation is key. A simple Excel spreadsheet can help you keep track of each website asset.
2. Export and import redirects
A major change that happens during the WordPress to HubSpot migration is a change of server. Instead of your domain pointing at your WordPress server, it points at HubSpot. Anything the WordPress server was doing is no longer accessible, and this includes your redirects.
You've probably implemented redirects at one point or another when updating content or URLs. They're important to help you direct visitors to correct and updated pages.
However, you must manage these existing redirects as part of a migration. They need to be exported from WordPress and imported into HubSpot. This directs your audience to the right pages and avoids encountering that pesky 404 page.
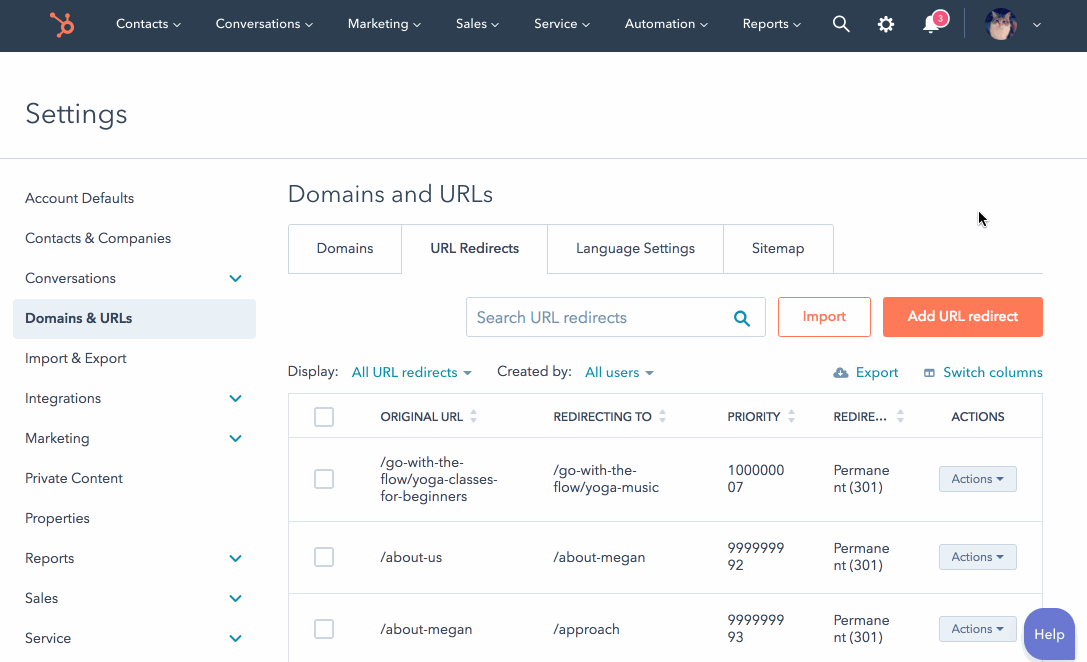
Take this opportunity to streamline your redirects and remove any chains and loops that have built up. These can slow down your website, cause errors, and diminish SEO value for your pages, so it's good practice to tidy them up if possible.
3. Check your attached services, software, and integrations
You might use tools, software, and integrations that are hosted on your server and attached to the same domain as your website, such as:
- Customer portals
- Restricted partner or distributor areas
These commonly use subdomains to separate them from your main, root domain, but in some cases, they can share the same domain as your website. External software like this can't be migrated, and by changing your DNS during your migration, access to your tools and software will disappear.
You may need to set up a new domain or subdomain for your software and tools to restore/maintain access. So check this and plan ahead of time as part of your migration.
4. Preconfigure domain settings in HubSpot
It's beneficial to preconfigure domain settings in HubSpot ahead of your website launch. This lets you stage your content with the correct URLs you want to use and preconfigure security aspects, in particular things like pre-provisioning your SSL certifications.
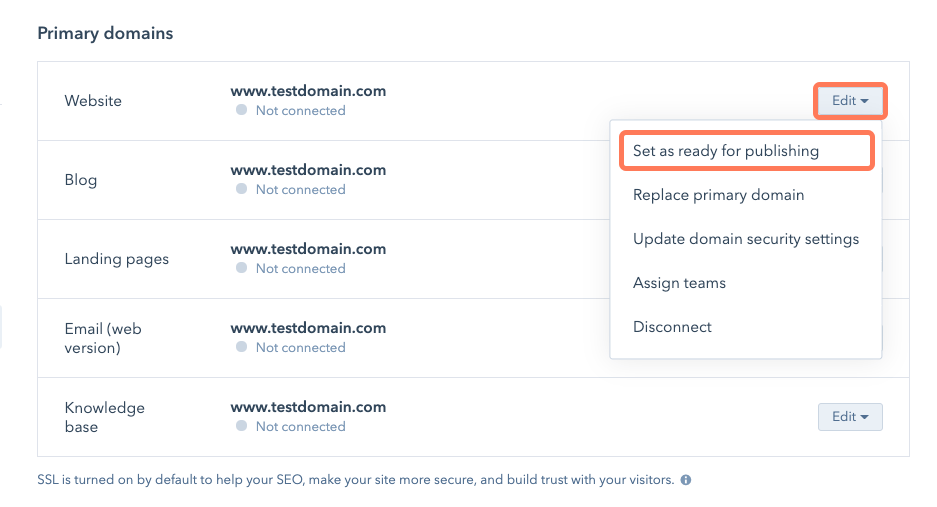
By managing these in good time, it helps you reduce downtime during your website migration.
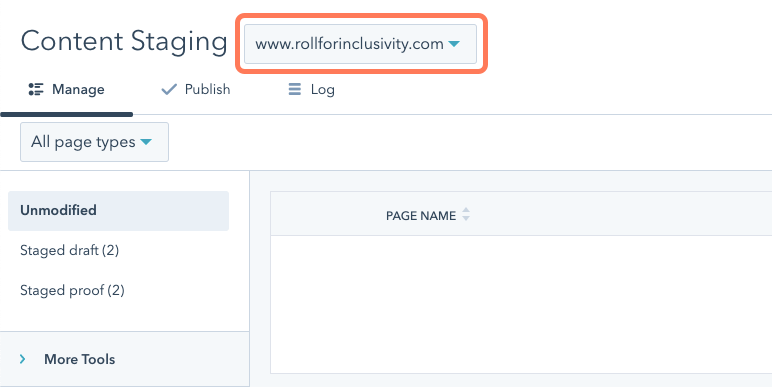
5. Stage your new website in HubSpot
Importantly, you need your new website to exist on HubSpot. There are a range of services you can use to migrate your website from WordPress to HubSpot:
- HubSpot's own migration service
- Doing it yourself using a theme from HubSpot's marketplace
- Using an in-house developer
- Working with a HubSpot web design agency
HubSpot has built-in content staging functionality that you can use to stage your website pages before you're ready to publish them.
HubSpot doesn't accept every website migration request. If HubSpot rejects your website migration request, don't worry, you still have options available. Our blog explains why HubSpot sometimes rejects website migration requests.

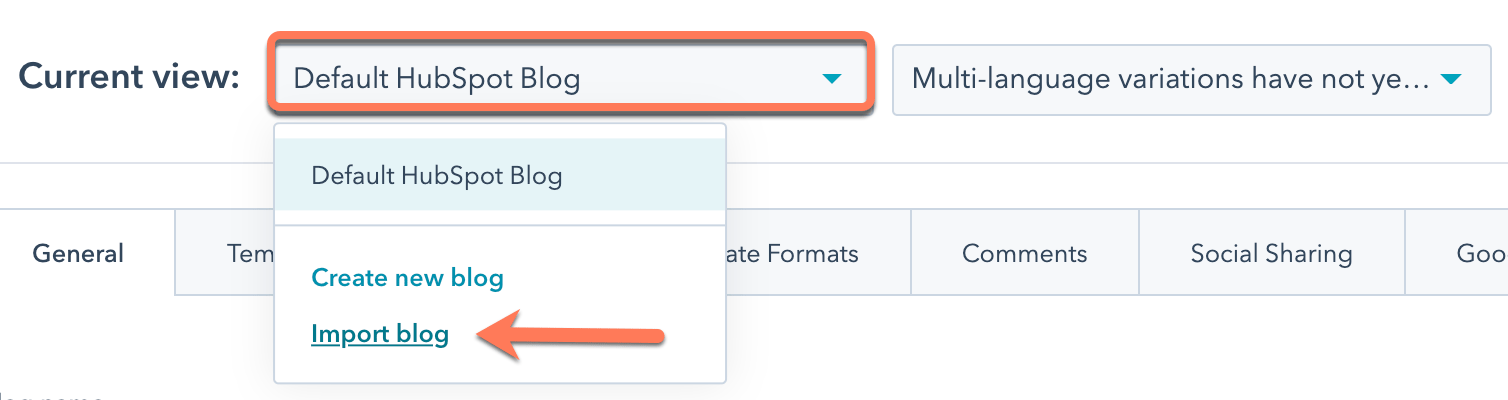
6. Import your blog into HubSpot
If you have a blog, you'll need to migrate each post from WordPress to HubSpot. Handily, HubSpot has a WordPress blog import tool. This saves time on manually importing them. If you've got thousands of blog posts, it's easy to see how HubSpot has dramatically removed the legwork from a mammoth task.
Make sure to quality check your blog content. When importing content, there might be small formatting changes that impact your blog.
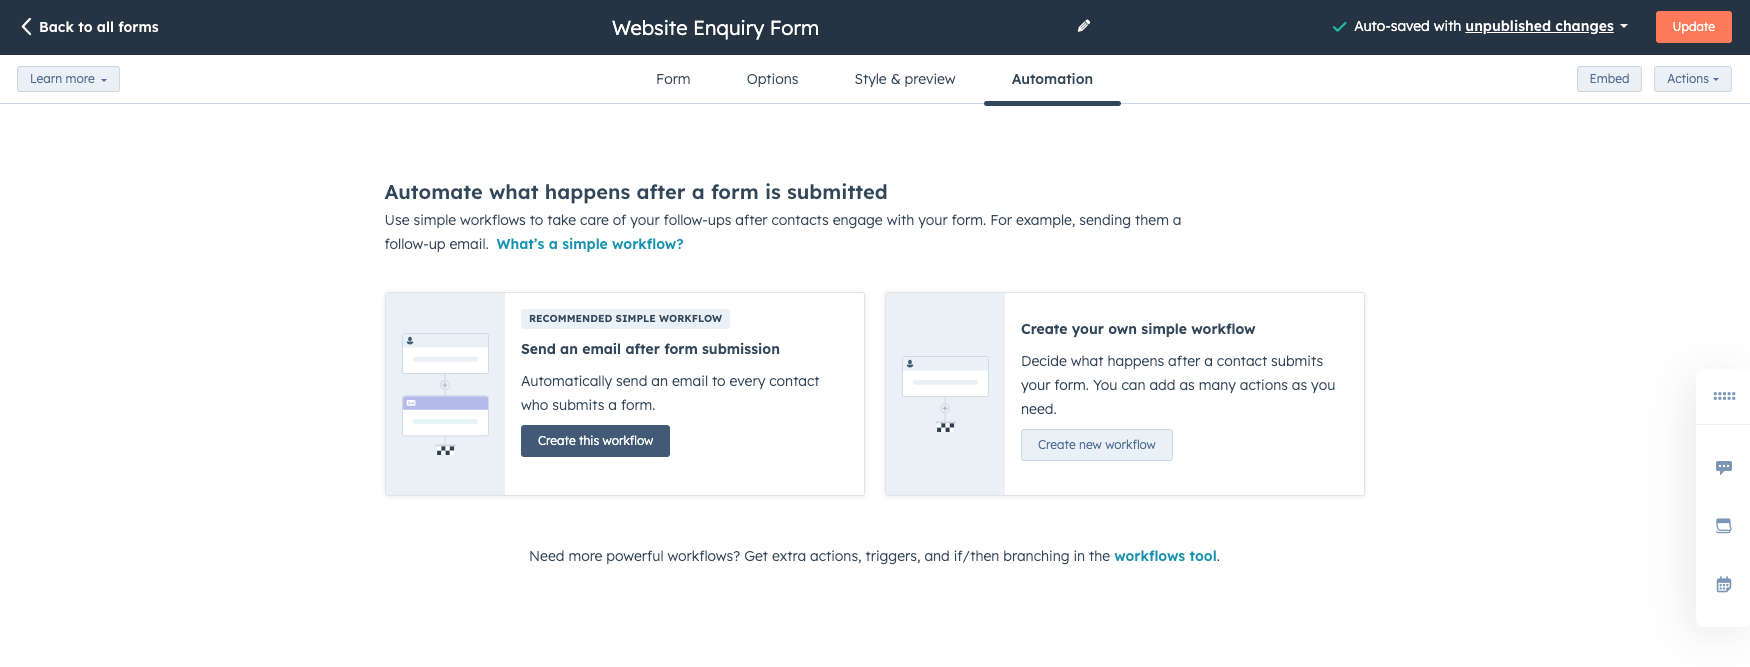
7. Recreate forms, notifications, and automation
Your website is likely capturing leads, sending automated emails, and triggering automated processes in the background. Think about what happens after somebody submits an enquiry on your website, for example.
You need to migrate these processes to the HubSpot platform. Configure workflows to send notifications, emails, and update data based on your website actions. This needs to be ready to go post-migration. If not, you might miss enquiries and leads that come through your website.
8. Test your website
Iron out any kinks before your website goes live. HubSpot gives you the ability to preview your website pages in three different devices (desktop, tablet, and mobile) before they're published, so you can test each page, forms, and any other functions.
It's worth investing in a tool like Lambda Test to check your website pages in multiple browsers and devices before you go-live.
9. Switch DNS records
DNS records provide information about a domain, including where it's located and its associated IP address. For a website migration, this is the moment of truth where you establish a DNS service with a new provider.
If you followed step four to preconfigure your domain in HubSpot, you should already be able to access your new DNS records, which can be applied to your DNS settings.
It always takes time for new DNS records to propagate. There might be service interruption when switching, but if you've followed the previous steps, this disruption will all be minimised.
10. Test again
It's time to test again!
Take the time to work through your website pages, hopefully, collated during the first step of your website audit, and check they're all working correctly. Pay close attention to the technical elements that may have been disrupted by the DNS switchover, such as:
- Broken links
- Broken images
- Redirects
- Your other web services
This is the time to fix any snags or problems that might have occurred. If you've followed the steps, this should be minimal.
Considering using HubSpot CMS for your website?
If you're considering using HubSpot CMS for your website but are unsure if the platform is right for you, book a demo with one of our experts.
Our CMS specialist will guide you through:
- An overview of HubSpot CMS and Content Hub's key features
- A live demonstration of the website editing experience
- A showcase of the AI tools available in Content Hub
If you have any questions about the platform, we'll answer them for you, enabling you to make an informed decision.


